 GERMANY
 ENGLISH
 FRANCE
 SPAIN
SPAIN PORTUGAL


Blog
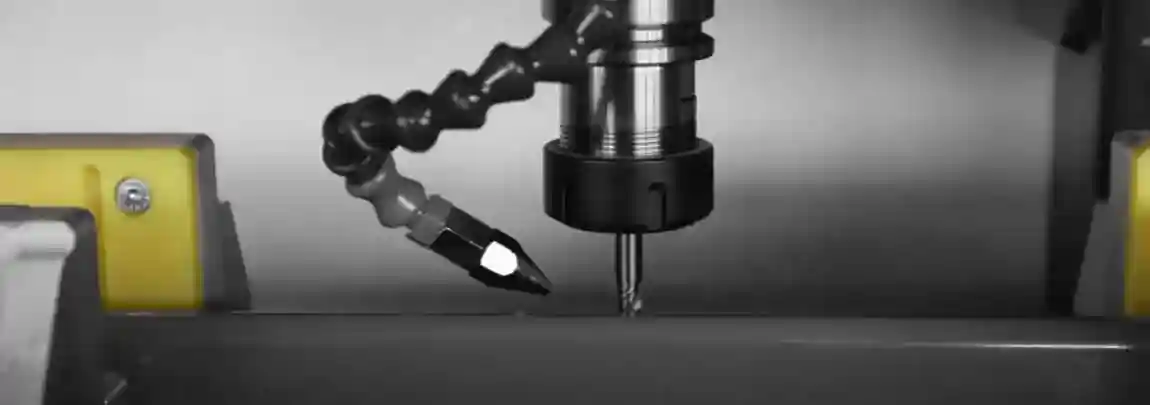
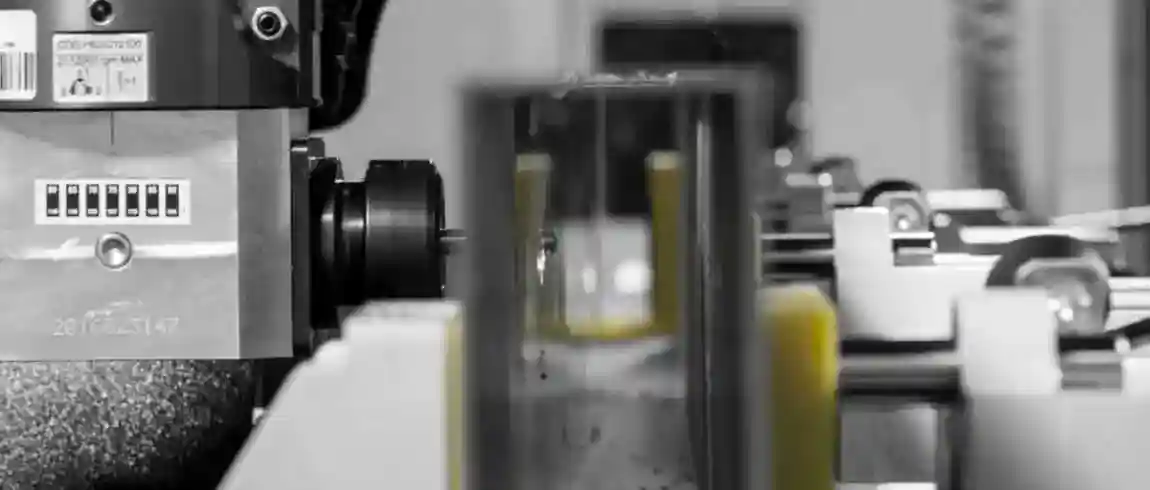
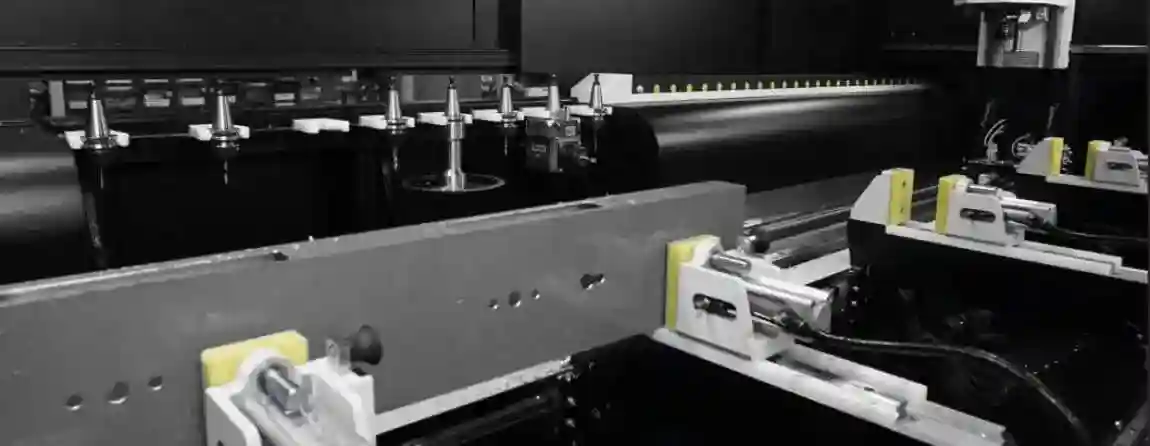
ALUMINUM PROFILE SAW SETUP
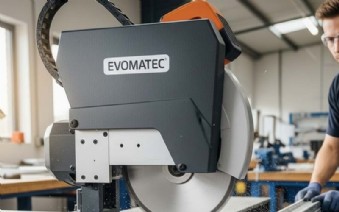
Precision is Everything: 5 Tips for the Correct Setup and Calibration of Your Aluminum Profile Saw
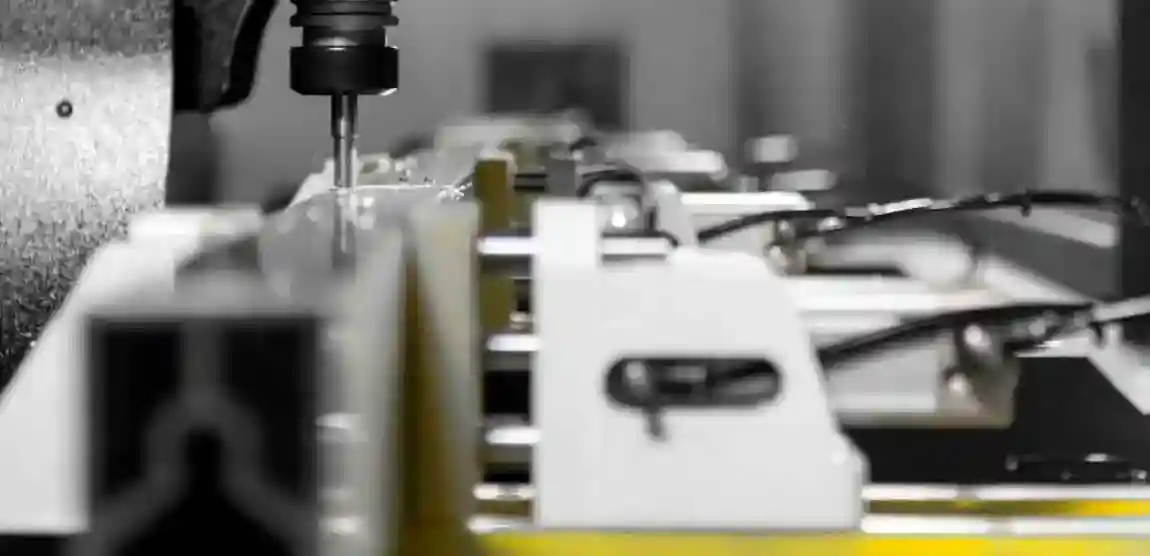
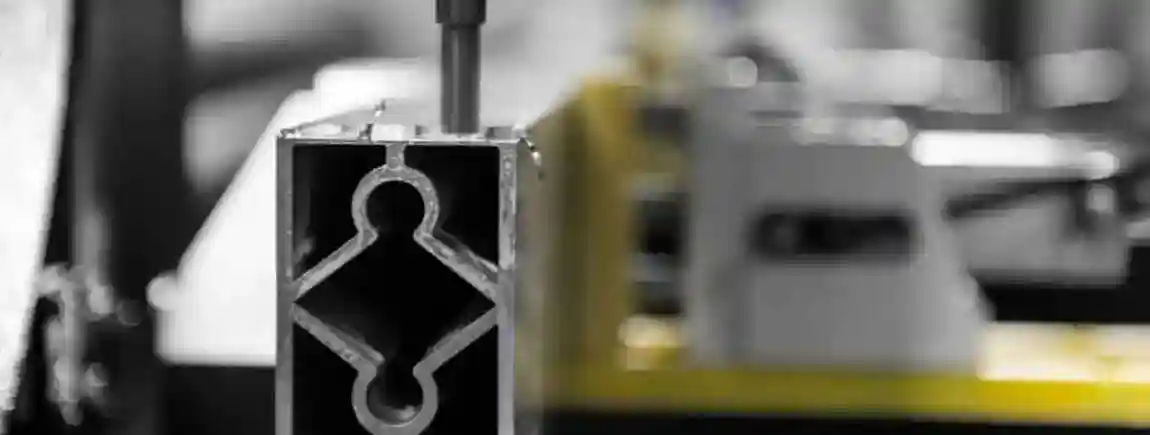
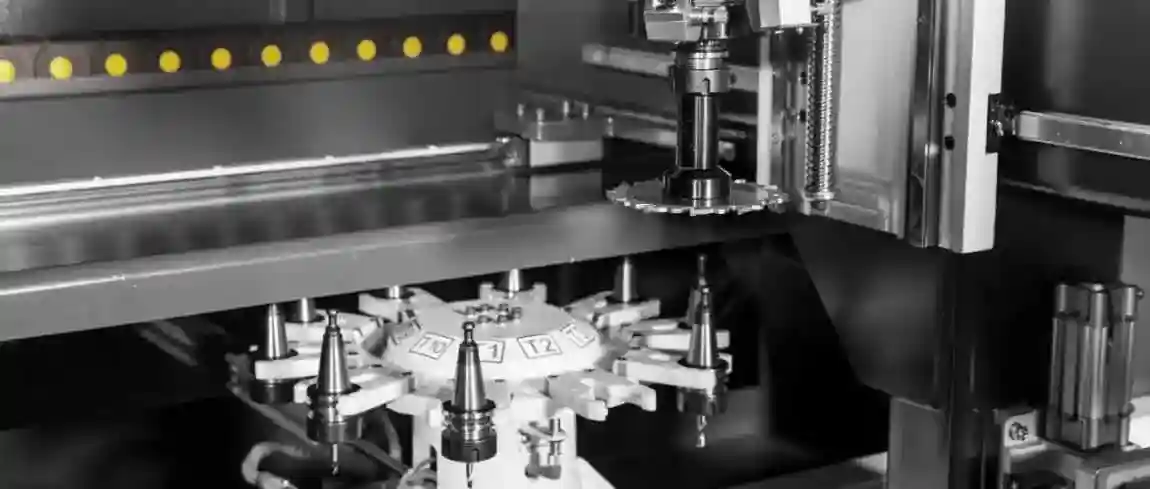
An aluminum profile saw, often called a chop saw, miter saw, or metal circular saw, is an indispensable tool for craftsmen and ambitious DIY enthusiasts who need to make precise and clean cuts in aluminum profiles and other non-ferrous metals. Whether in window construction, trade fair construction, furniture manufacturing, or various craft projects – the accuracy of the cut is crucial for the quality and fit of the final product. An inaccurate cut can not only ruin the material and lead to costly waste but also compromise the stability and aesthetics of the entire structure. For example, inaccurate miter cuts result in corners that do not close flush, which is immediately noticeable in frame constructions and can weaken structural integrity.
However, the best saw is of little use if it is not perfectly set up and calibrated. Even the smallest deviations in the settings can become clearly visible in the finished workpiece. Wear, transport, or simply regular use can cause the factory settings to shift. Therefore, regular checking and adjustment of the saw are essential to consistently achieve high-quality results and to work safely. In this comprehensive blog post, we highlight five crucial tips on how to correctly set up and calibrate your aluminum profile saw to ensure maximum precision with every single cut. We will go into detail on the most important components of the saw and explain step-by-step how to proceed to achieve perfect cutting results.
1. The Heart of the Saw: Perfectly Aligning the Saw Blade
The saw blade is the central component of your saw. If it is not perfectly aligned, all other settings are futile. A misaligned saw blade leads to unclean cutting edges, material tear-out, and can even compromise safety. The alignment must be perfect in two planes: parallel to the miter slot in the saw table and at an exact 90-degree angle to the saw table itself.
Why is this so important? Imagine the saw blade was slightly tilted to the left or right; it would not glide cleanly through the material but would instead mill its way through sideways. This creates friction and heat, which can lead to melting marks and an unsightly, burred cutting edge on aluminum. Furthermore, the cut would not correspond to the intended angle. A tilt forward or backward (relative to the saw table) would have a similar effect and would prevent the cut from being perfectly perpendicular.
How to proceed with calibration: You will need a high-quality combination square or a precision square for this check. Always unplug the saw before any adjustment work to prevent accidental start-up. Ensure the saw blade is clean and free of resin or aluminum residues. Now, lower the saw head completely. Place the base of the square flat on the saw table and carefully bring the ruler of the square up to the saw blade. Be sure to place the square against the body of the blade, not one of the saw teeth, as they are often slightly offset (set) and would falsify the measurement.
Now, use a light source (e.g., a flashlight) to check if there is a light gap between the saw blade and the square. Even the smallest gap indicates a deviation from a perfect 90-degree angle. If this is the case, you need to adjust the bevel setting of your saw. Most saws have special adjustment screws for this on the saw head's pivot mechanism. Loosen the lock nut of the stop screw for the 0-degree position and turn the screw until the blade is perfectly perpendicular to the table. Check the result again and retighten the lock nut. Perform this check at several points on the saw blade to ensure the blade itself is not warped.
2. The Fence Must Be Right: Adjusting the Rip Fence Precisely
The rip fence (or back fence) is the reference surface against which you place your workpiece. If this fence is not aligned at an exact 90-degree angle to the saw blade, every single cut you make will be crooked – even if the saw blade is perfectly calibrated. A non-parallel fence is one of the most common causes of inaccurate cuts and leads to frustration and wasted material.
Why is this so important? If the fence is not at a perfect right angle to the cutting plane of the saw blade, a supposedly straight 90-degree cut will actually be, for example, an 89.5-degree or 90.5-degree cut. When joining two such pieces, a gap or an unsightly edge will result. This is particularly critical when creating frames or box constructions where absolute right-angledness is crucial.
How to proceed with calibration: You will also need a reliable square for this. Make sure the saw table and the fence are clean. Chips or dirt can falsify the measurement. Set the miter angle of the saw to exactly 0 degrees and engage the lock. Mount a saw blade that you know is flat and not warped. Now, place one side of your precision square flat against the rip fence and slide it until the other side of the square touches the saw blade. Again, measure against the blade body, not the tooth.
Check again with a light source for any gap between the square and the saw blade. If there is one, the fence must be adjusted. Most aluminum profile saws have adjustable fences, usually attached to the saw table with two or more screws. Loosen these screws slightly so the fence can be moved minimally. Now, align the fence perfectly perpendicular to the saw blade using the square. It can be helpful to use light taps with a rubber mallet or a block of wood for fine adjustments. Once the alignment is perfect, retighten the fence's mounting screws. Be sure to double-check the setting after tightening, as the fence can shift slightly during this process.
3. Precise Angles: Putting the Miter Settings to the Test
The ability to make precise miter cuts is one of the core functions of a chop saw. While the scales and fixed detents (e.g., at 0, 15, 22.5, 30, and 45 degrees) are a great help, you should never blindly trust them. In particular, the 45-degree settings for left and right miters must be absolutely exact to create perfect corners.
Why is this so important? Even a half-degree deviation can cause the corners of a picture frame not to close cleanly, creating an unsightly gap. On a four-part frame, the error adds up at each corner. If each 45-degree cut is actually 44.5 degrees, the sum of the four angles is only 356 degrees instead of the required 360, leading to a clearly visible gap at the final corner.
How to proceed with calibration: The best way to check the miter settings is by making a test cut. Take a scrap piece of a wide, flat aluminum profile or, alternatively, a piece of hardwood that is perfectly straight. Set the miter angle of your saw as precisely as possible to 45 degrees to the left and make a cut. Now, turn the saw's turntable to 45 degrees to the right and cut a second piece from the same material.
Now take the two freshly cut pieces and place the cut edges together. Lay both workpieces on a flat surface and place a precision square on the outside of the joined pieces. If your saw is perfectly adjusted, the two pieces should form an exact 90-degree angle, and there should be no visible gap between the cut surfaces. If there is a gap or the angle is incorrect, you need to adjust the stops for the 45-degree positions. Similar to the 0-degree setting, there are usually small adjustment screws that limit the swivel range of the saw table. Adjust these screws minimally, make a new test cut, and repeat the process until the result is perfect. Perform this test for both 45-degree settings (left and right).
4. The Right Depth: Setting the Cutting Depth for Grooves and Safety
Many modern aluminum profile saws offer the ability to limit the cutting depth. This feature is not only important for safety but also allows for cutting grooves or making half-lap joints. A precisely adjustable and reliable depth stop significantly expands the application possibilities of your saw.
Why is this so important? For special joints, such as cutting a groove for a back panel in a frame, an exact and repeatable cutting depth is essential. If the cut is too shallow, the counterpart will not fit. If the cut is too deep, the joint loses stability and the appearance suffers. A correct setting is also important for safety reasons. The cutting depth should be set so that the saw blade extends only a few millimeters deeper than the material thickness into the saw table. This minimizes blade exposure on the underside and reduces the risk of accidents.
How to proceed with calibration: Most saws have an adjustable screw with a lock nut that mechanically limits the downward travel of the saw head. To set the maximum cutting depth, lower the saw head completely with the machine unplugged. Loosen the depth stop screw and adjust it so that the saw teeth are about 3-5 millimeters below the surface of the saw table. This ensures a clean cut through the entire material without extending the blade unnecessarily far.
To set a specific cutting depth for a groove, proceed as follows: Place a test piece of the material to be worked on the saw table. Mark the desired groove depth on the side of the workpiece. Now, manually lower the saw blade (with the power cord unplugged!) until the tip of a saw tooth just touches the marked line. In this position, turn the depth stop screw down until it touches the stop on the machine body. Lock the screw with the nut. Now, make a test cut on a scrap piece and measure the depth of the cut groove with calipers. Correct the setting if necessary until the desired depth is exactly achieved.
5. Lasers and Accessories: Correctly Adjusting and Using Aids
Modern saws are often equipped with useful aids like a cutting line laser or LED work lights. These can make work much easier, but only if they are correctly adjusted. A misaligned laser leads to inaccurate cuts because you are relying on a mark that does not correspond to the actual cutting line.
Why is this so important? The laser projects a line onto the workpiece, indicating where the saw blade will cut. This is particularly helpful for quickly and precisely targeting the cut position without having to lower the blade. However, if the laser is not perfectly aligned with the edge of the saw blade, the cut will be either to the left or right of the marked line. The supposed advantage turns into a disadvantage and leads to systematic errors.
How to proceed with calibration: To adjust the laser, you need a piece of scrap wood or a flat profile on which you draw a clear, straight line. Securely clamp the workpiece on the saw table. Turn on the laser and align the workpiece so that the laser line perfectly matches your drawn line. Now, with the machine unplugged, slowly lower the saw head. Observe carefully where the teeth of the saw blade would meet the workpiece.
Ideally, the edge of the saw teeth (either the left or the right, depending on the model and setting) should lie exactly on your drawn line. Most lasers can be adjusted. Look for small adjustment screws near the laser diode. Loosen them carefully and move the laser until the projected line perfectly matches the cutting edge of the saw blade. It is a matter of personal preference whether the laser should indicate the left, right, or center of the kerf (the width of the saw tooth). The important thing is that you know what the laser is set to and maintain this consistently. Retighten the adjustment screws after setting and make a test cut to verify the result.
Final Thoughts
The precision of your aluminum profile saw is in your hands. Take the time regularly to check and calibrate the settings described here. Do not view this work as a tedious chore, but as an integral part of the craft that determines the quality of your work. An afternoon invested in careful calibration will save you countless hours of frustration, a lot of wasted material, and ultimately money in the long run. A perfectly adjusted saw is not only a guarantee for precise and clean cuts but also an important contribution to your safety. Always work with concentration, wear the necessary personal protective equipment such as safety glasses and hearing protection, and respect the power of the machine. With a sharp blade and a perfectly calibrated saw,